Guitar Basics Course

New to playing the guitar? Don’t know what the frets are? This is the place to start! A comprehensive overview of the Guitar, including the differences between Acoustic, Electric, and Classical Guitars, the names of the parts of the guitar, and everything else you need to know to get started playing!


Introduction

There are two main types of guitars. These are Electric Guitars and Acoustic Guitars. We will discuss both types of guitars, including the names of the parts of the guitar, the differences between types of each guitar, and which musical styles are best suited for each guitar type. 

Video Lesson


ACOUSTIC GUITARs (Steel String)

The Parts of the Steel-String Acoustic Guitar

The Parts of the Steel-String Acoustic Guitar

Steel-String Acoustic Guitars are extremely versatile instruments and are used in many different styles of music. Steel string acoustic guitars have a larger body size than Nylon String guitars, but also have a narrower neck and fingerboard which makes stretching between notes on the neck more comfortable. 

Steel string acoustic guitars can be played with the pick or with the fingers, and can produce a wide range of tones depending on the wood types used to build the guitar. Many steel string acoustic guitars also come with electronics built in that can amplify the guitar through an amplifier or PA system. 

Compared to nylon strings, steel strings are thicker and therefore harder for beginning guitarists to press down and can lead to finger fatigue as you develop calluses on your fretting hand. It is important for beginning guitarists to spend time acclimating to the pressure required in their fretting hand on the acoustic guitar.


CLASSICAL GUITARs

Although they look very similar in design, Nylon String Acoustic Guitars have a very different sound and feel from their steel string counterparts.

The Parts of the Nylon String (Classical) Guitar

The Parts of the Nylon String (Classical) Guitar

Nylon string acoustic guitars are typically smaller in body size, and the neck on a nylon string is much wider than on a steel string. This allows for more space between the strings, which is very helpful as nylon strings are typically played with the fingers of the right hand rather than a guitar pick.

Nylon strings have a softer feel and wider dynamic range than steel strings, and can be played very softly or with great intensity depending on the playing style and situation. As a result of this softer feel, nylon strings are easier for beginning guitarists to press down and create sound, but the wider neck can prove problematic for the left hand, especially when learning chords.

Nylon string guitars are typically found in Classical guitar and Flamenco guitar performance styles, but have also found their way in to Latin musical styles as well as Rock and Roll, especially when these styles have classical influences. 

It is also important to know that you cannot put nylon strings on a steel string guitar and vice versa. It is extremely important that you never put steel strings on a guitar designed for nylon strings, as the greater tension of the steel strings is highly likely to damage your instrument. 


ELECTRIC GUITARS  

Electric Guitars come in many different styles and configurations, but they all share some common elements that link them together.

Parts of the Electric Guitar

Parts of the Electric Guitar

Although electric guitars differ greatly in shape, and construction, they all share the same main parts as acoustic guitars, including the headstock, neck, and body. Most electric guitars are Solid-body guitars, in that they are made from a solid piece of wood, instead of a hollow body design like we see in acoustic guitars. Electric guitars differ from their acoustic guitar counterparts in that they have very little natural acoustic projection and rely on their Pickups to capture the sound of the guitar. 

Pickups are essentially microphones made out of electromagnets that are placed under the strings to transfer the sound of the strings through to a Guitar Amplifier that amplifies the sound of the guitar to listenable levels and beyond. Many electric guitars will have a pickup near the bridge and near the neck, and some electric guitars will have a pickup in the middle of the guitar between the bridge and neck pickups. There will also be controls for the volume and tone of the pickups, and a pickup selector switch if multiple pickups are present. Many electric guitars will also have Tremolo systems on the bridge, that allows the player to bend the strings to reach different pitches both above and below the fretted note.


TYPES OF ELECTRIC GUITARS 

The following examples are four of the most recorded electric guitars ever produced, and understanding the differences between these guitars will help you choose the one that best suits your needs as a player. 

FENDER STRATOCASTER 

Fender Stratocaster

Fender Stratocaster

The Fender Stratocaster is one of the most versatile electric guitars available on the market today. Its unique double-cutaway design, tremolo bridge system and three single-coil pickups offer a wide variety of sounds, and can be found in Rock and Roll, Blues, R&B, Funk and Surf Music. The Stratocaster also has its input jack recessed into the body of the guitar. Jimi Hendrix, Eric Clapton, Jeff Beck and John Mayer are some of the many famous guitarists that use a Fender Stratocaster.


FENDER TELECASTER 

Fender Telecaster

Fender Telecaster

The Fender Telecaster has a brighter, sharper tone than the Stratocaster, and has found a home amongst Country music players as the definitive sound of the genre. The Telecaster lacks the tremolo system found in the Stratocaster, as well as the middle pickup, but its two single-coil pickups can still produce a wide variety of tones. The Telecaster has also been popular in Rock and Roll, Blues, and R&B. Keith Richards from the Rolling Stones and Bruce Springsteen are some famous guitarists who use the Telecaster.


GIBSON LES PAUL

Gibson Les Paul

Gibson Les Paul

Named after iconic guitarist and inventor Lester “Les” Paul, this design is a combination of a solid mahogany body with a carved maple top, a single cutaway, and two double-coil (or “humbucker”) pickups. The double-coil design allows for a thicker, fatter sound than single-coil pickups, and has been the definitive choice for Rock and Roll. It’s limited tonal options and it's substantial weight are some of the drawbacks of this design, but its tone is unmistakable. Jimmy Page from Led Zeppelin, and Slash from Guns n’ Roses are famous Les Paul.


GIBSON ES-335

Gibson ES- 335

Gibson ES- 335

The Gibson ES-335 is a double cutaway, semi-hollow guitar (it has a solid center block with hollow “wings” on each side). That combines the electronics of the Les Paul with a semi-acoustic body design. This design offers more tonal variety and a warmer, more acoustic sound that has found favor with players in all styles, including Jazz, Fusion, R&B, and Rock and Roll. Its larger body size may be uncomfortable for some players, but it will feel familiar to acoustic guitarists switching over to the electric guitar. Larry Carlton, Alex Lifeson from Rush, and Dave Ghrol from the Foo Fighters are all ES-335 players.


GUITAR AMplifiers 

In addition to the type of guitar, the Amplifier will have a dramatic affect on the tone of your instrument. There are three main types of amplifiers, Tube/Valve Amplifiers, Solid-State Amplifiers, and Modeling Amplifiers. Each of these amplifier designs are unique and come with their own benefits and drawbacks.

Tube Amplifiers were the earliest amplifier design, and were powered by Vacuum Tubes (or Valves as they are called in Europe). Although vacuum tubes are no longer used in most electronic devices, they are still used in modern guitar amplifiers. 

To most guitarists, these amplifiers have the most natural, responsive sound out of all of the amplifier designs. Despite the fragility of their design (tubes often need to be replaced as they wear out over time) and the elevated cost, many guitarists prefer these amplifies because of their sound. 

Fender “Vibroverb” Vaccum Tube Amplifier

Solid-State amplifiers offer a lower cost alternative to tube amps, and provide decent tone and features for a relatively low cost. Although not as responsive as tube amplifiers, Solid-State amplifiers have greatly improved in the past few years, and many players enjoy the unique sounds of these amplifiers. Due to the lack of volume tubes, Solid-state amplifiers are extremely reliable and require very little maintenance, which makes them ideal for working guitarists who don’t want to spend a lot of time maintaining their amplifiers. 

Roland Solid-State Amplifier

In recent years, a third kind of amplifier has emerged and gained popularity with guitarists because of its “swiss-army knife” versatility. These new, “Modeling” amplifiers use computer software to emulate the characteristics of many different kinds of amplifiers and put them into a single, relatively inexpensive amplifier. This allows for players to switch between several different amplifier types and sounds with just a single amplifier, and can be extremely useful for players that switch frequently between different musical styles.

With so many amplifier choices available at a fraction of the cost, these amplifiers have become extremely popular, and as technology improves, have be able to effectively replicate the characteristics of tube amplifiers to the point where it is getting harder and harder to tell the difference between the two. 

Line 6 Modeling Amplifier

The Big Question: Which Guitar and Amplifier Should I Buy? 

This is a hard question to answer, as each guitar type and amplifier type has its own set of benefits and drawbacks. Hopefully, the above information will help you in deciding which type of guitar and amplifier is right for you, and you can always add to your collection of instruments later on. 

The best advice is to try each of these types of guitars out at your local music retailer, as it is very important to get a “feel” for the instrument. How the guitar feels in your hands, if it’s comfortable to play both standing up and sitting down, and the cost are all factors to consider when purchasing an instrument. 

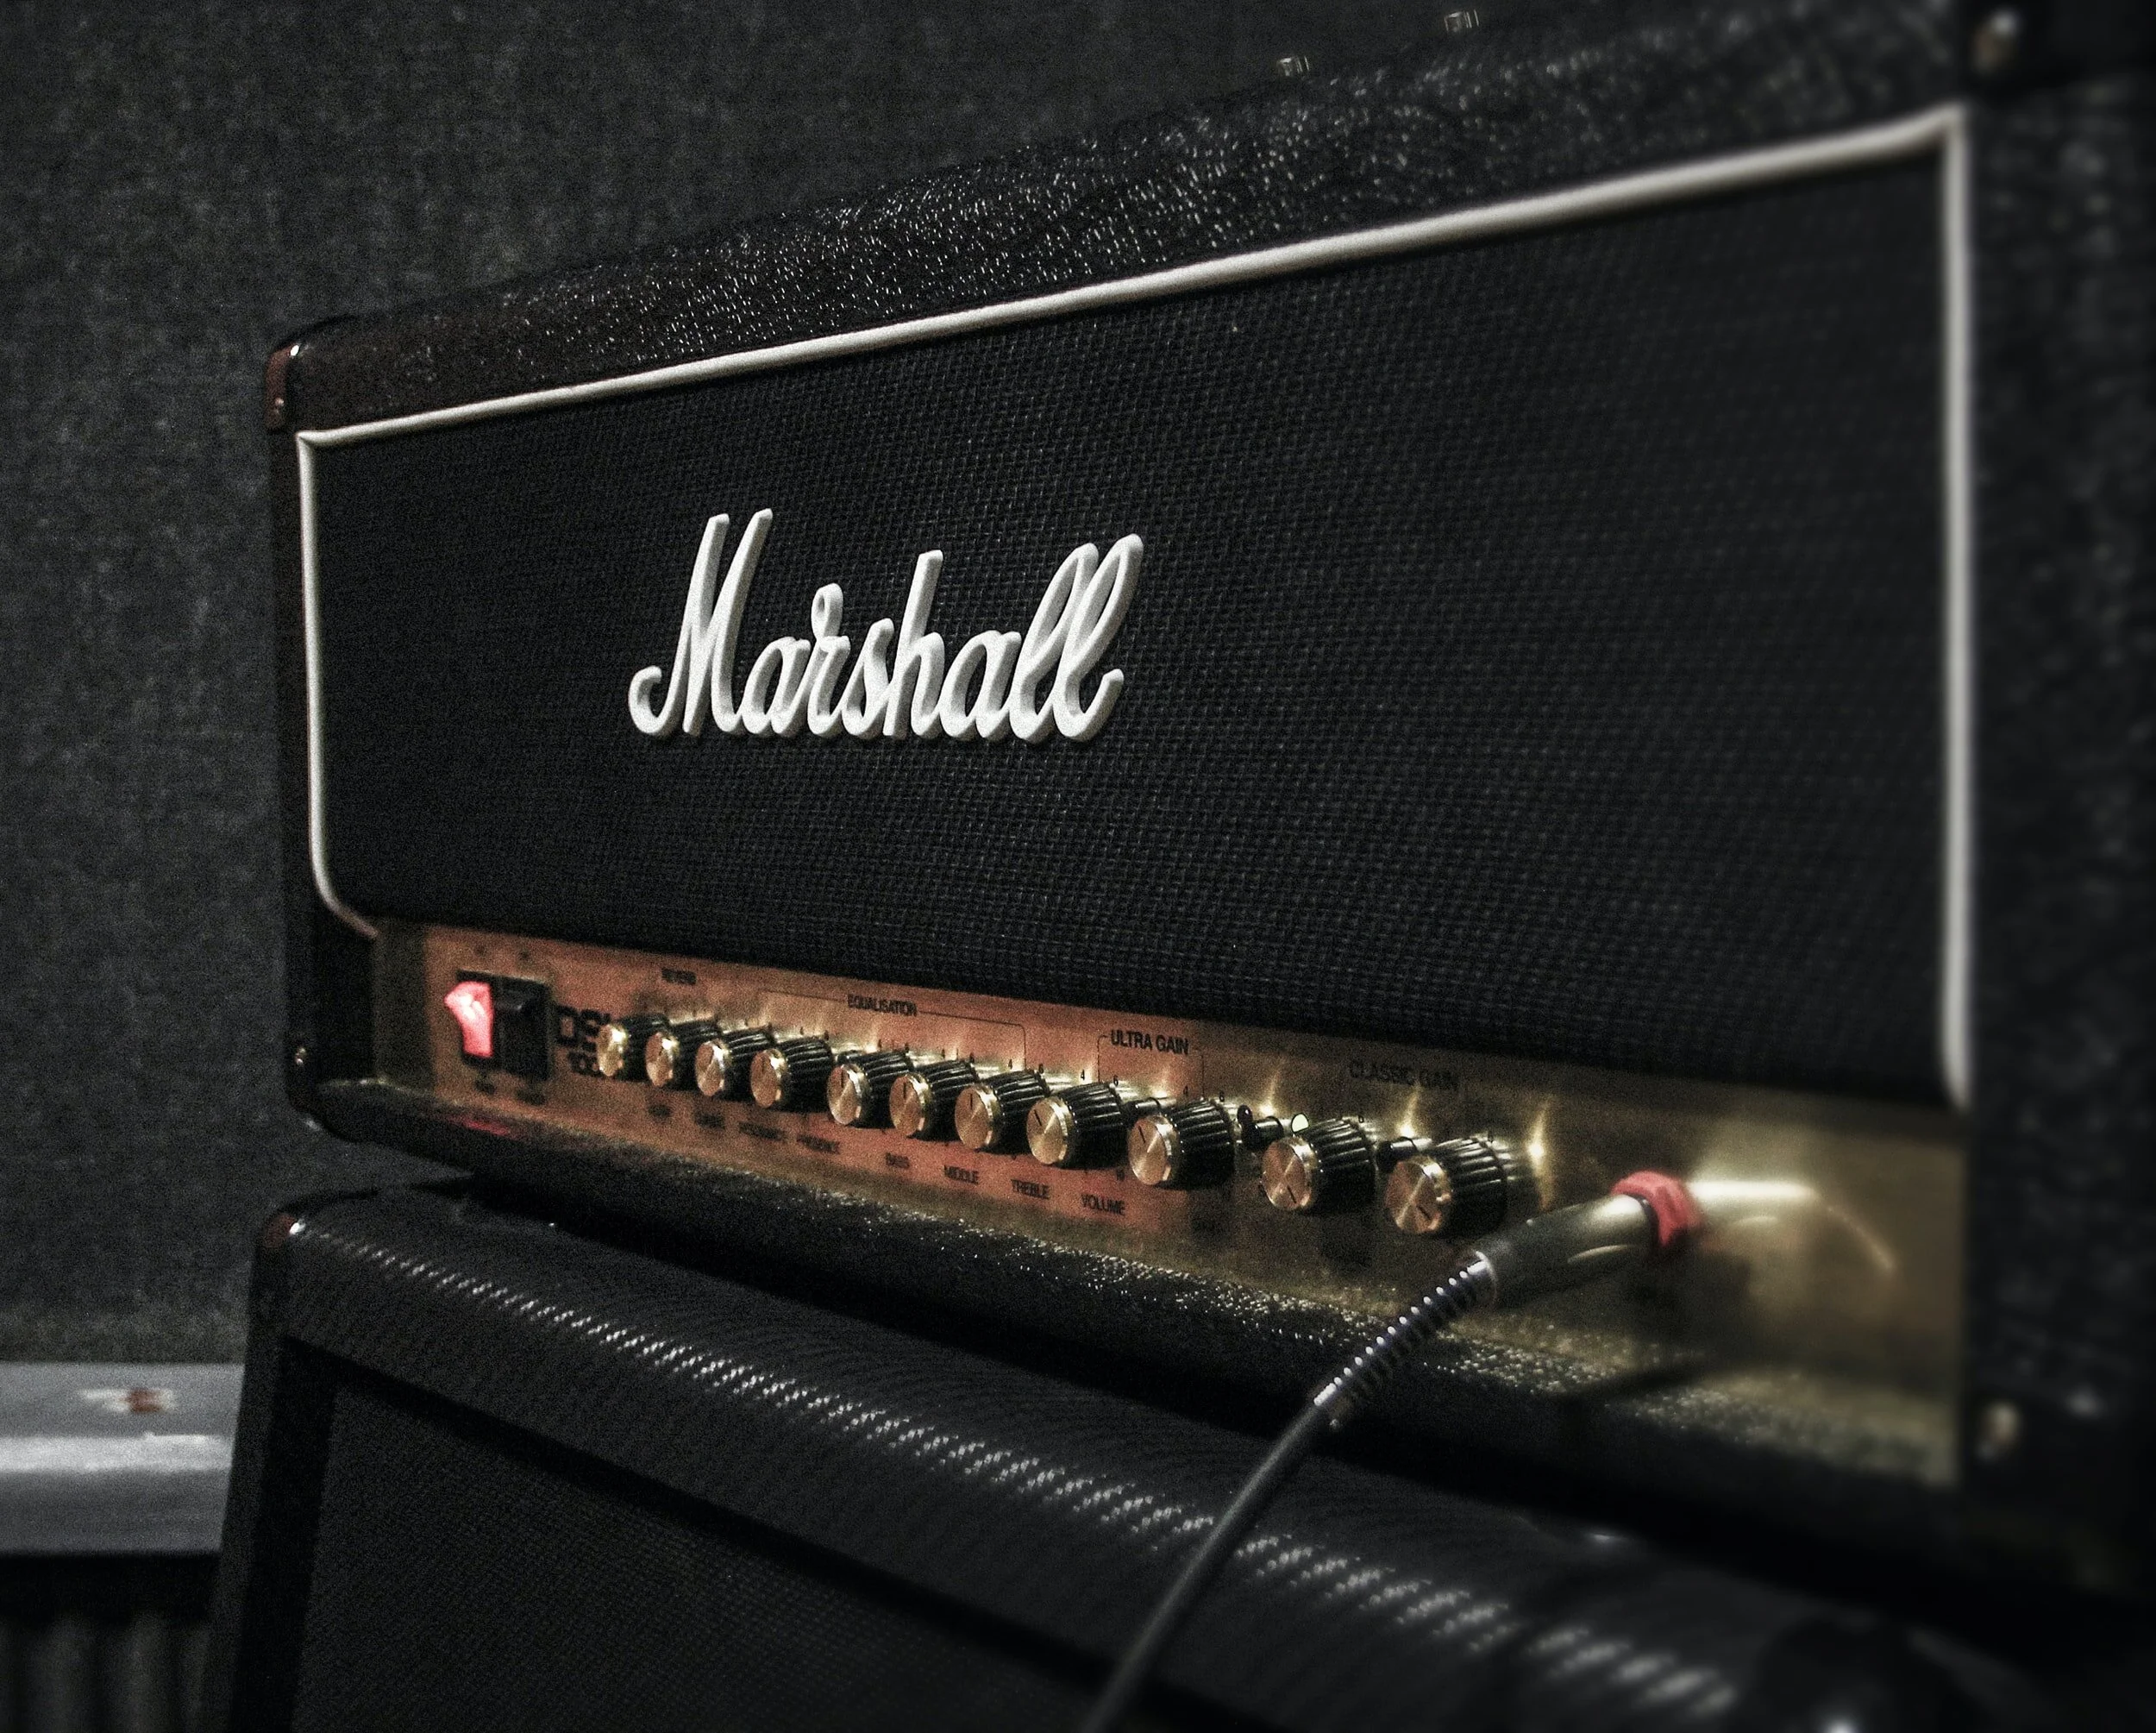
A great way to get started with purchasing a guitar and/or an amplifier is to listen to some of your favorite guitarists and find out what kind of guitars and amplifiers they used. While you might not be able to afford their exact setup, there are lower-cost alternatives that will get you stated that you can upgrade later on. 

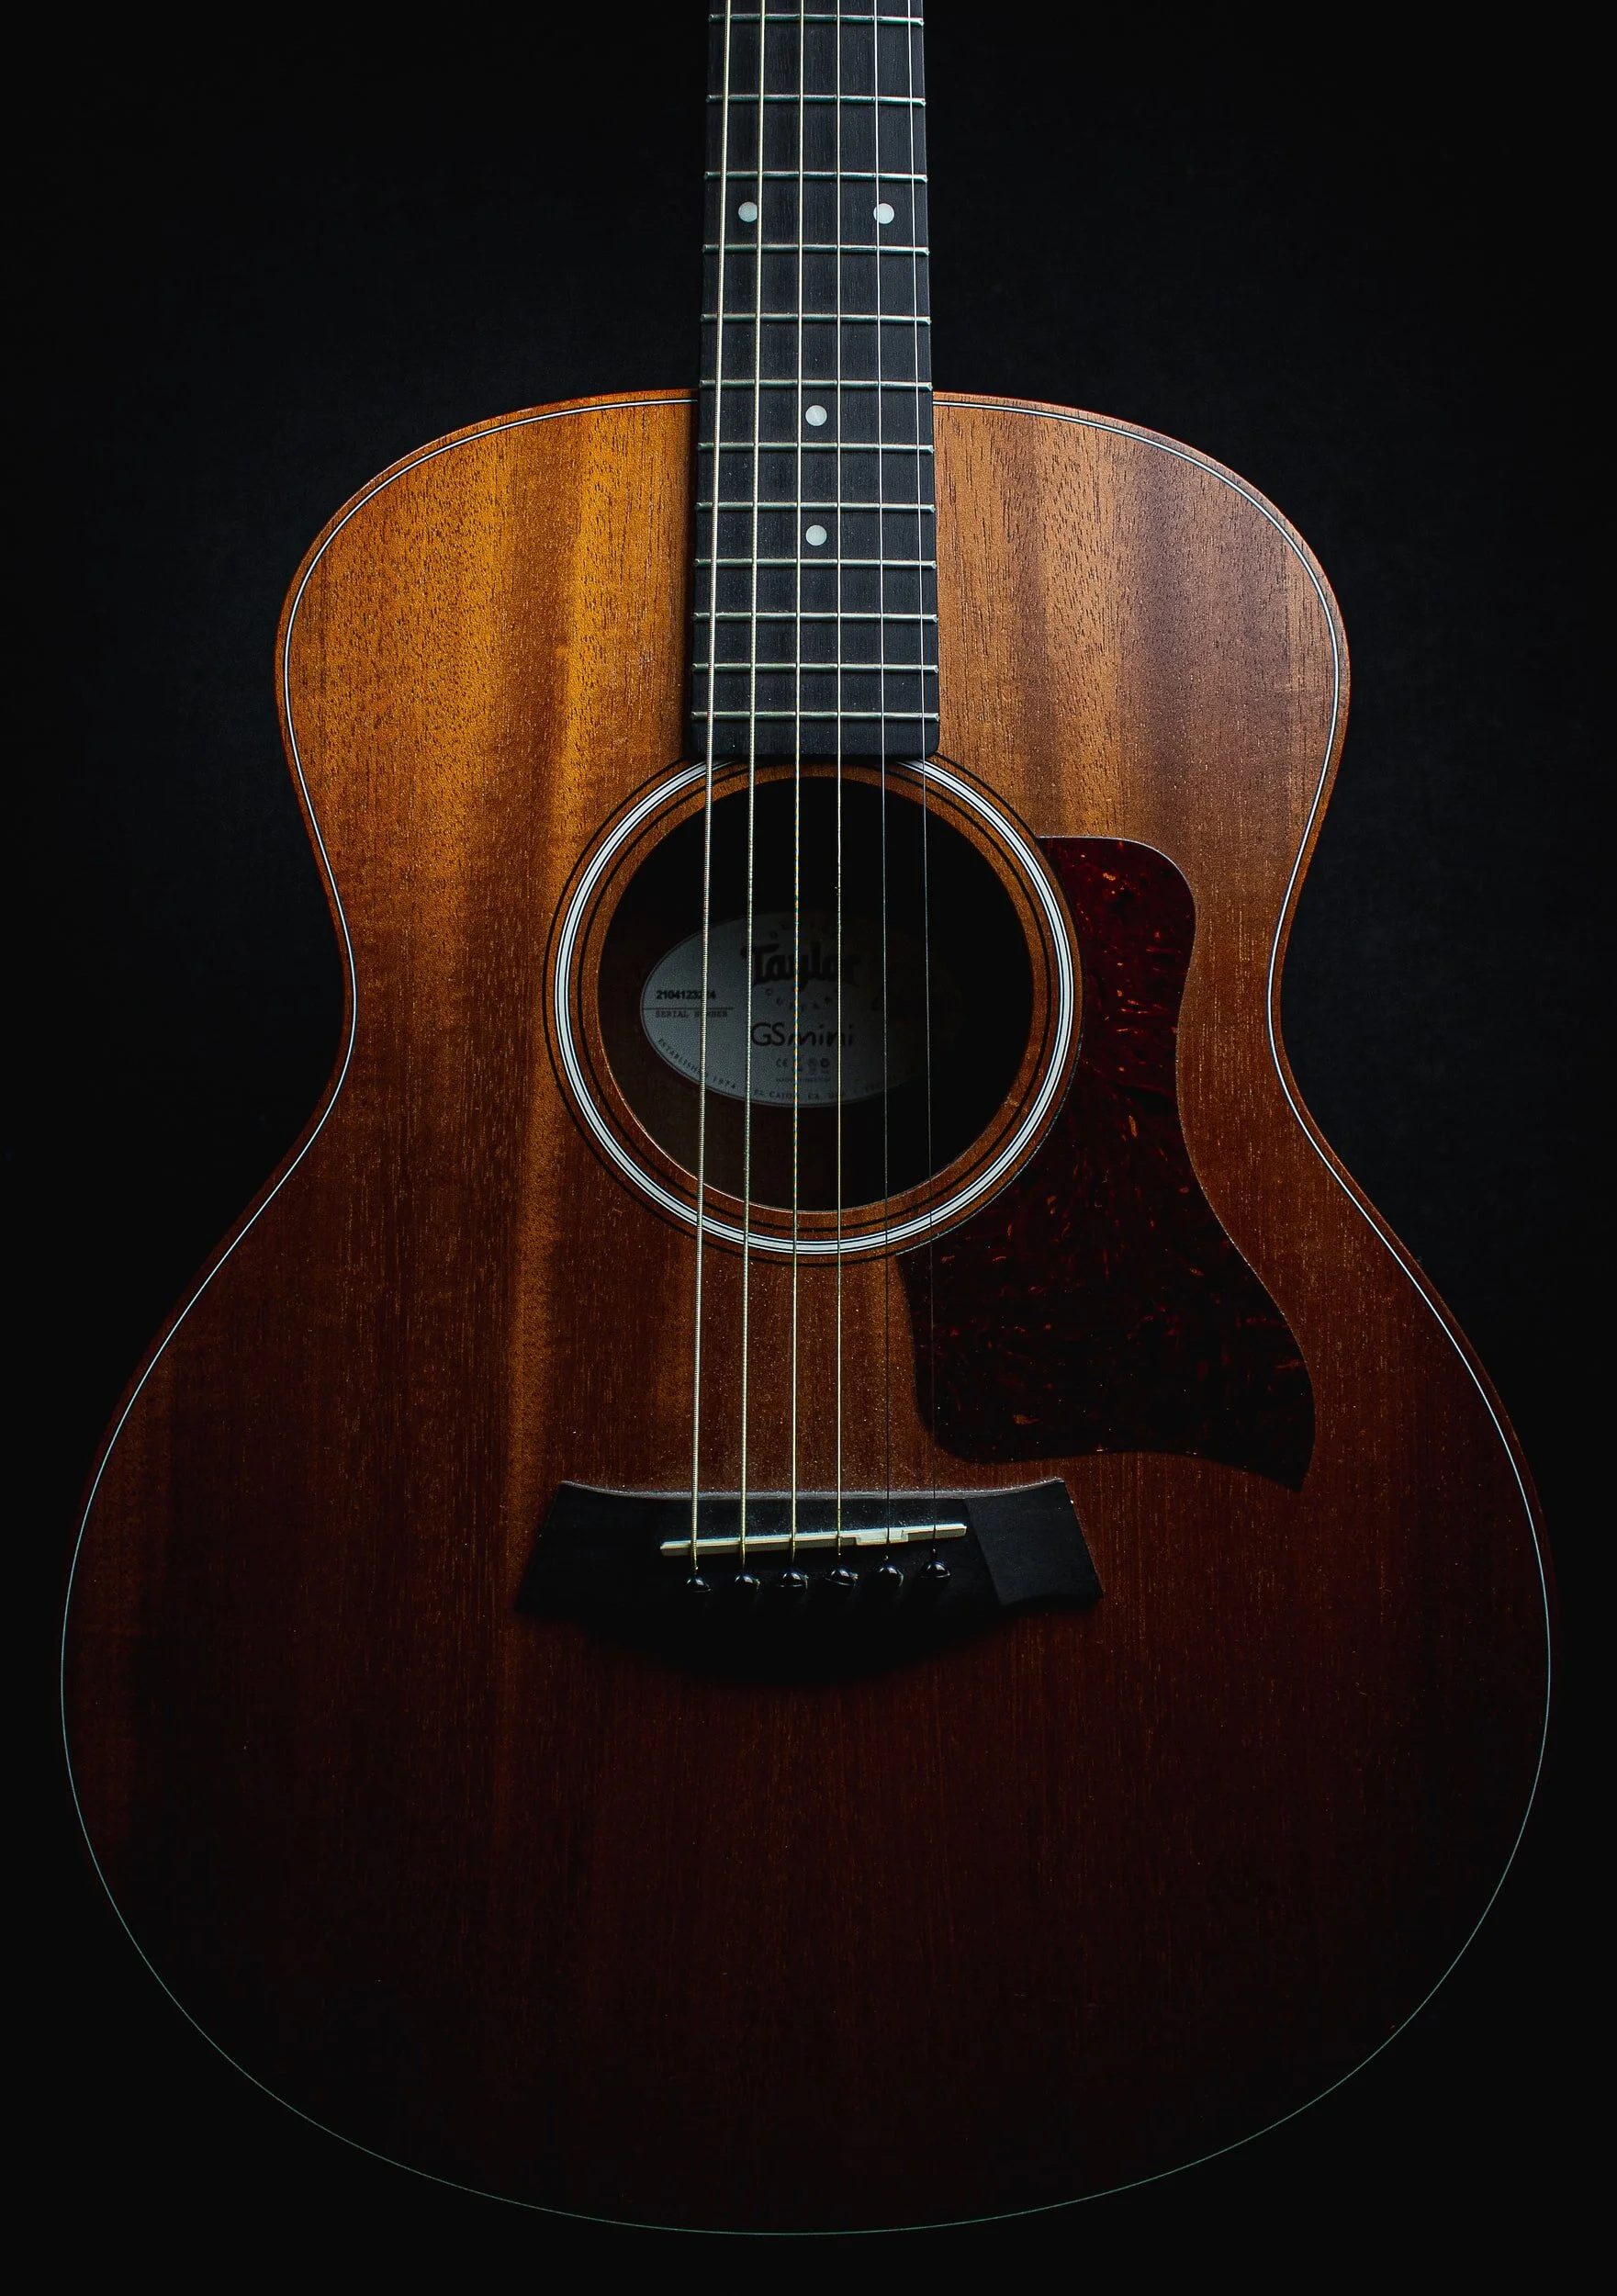
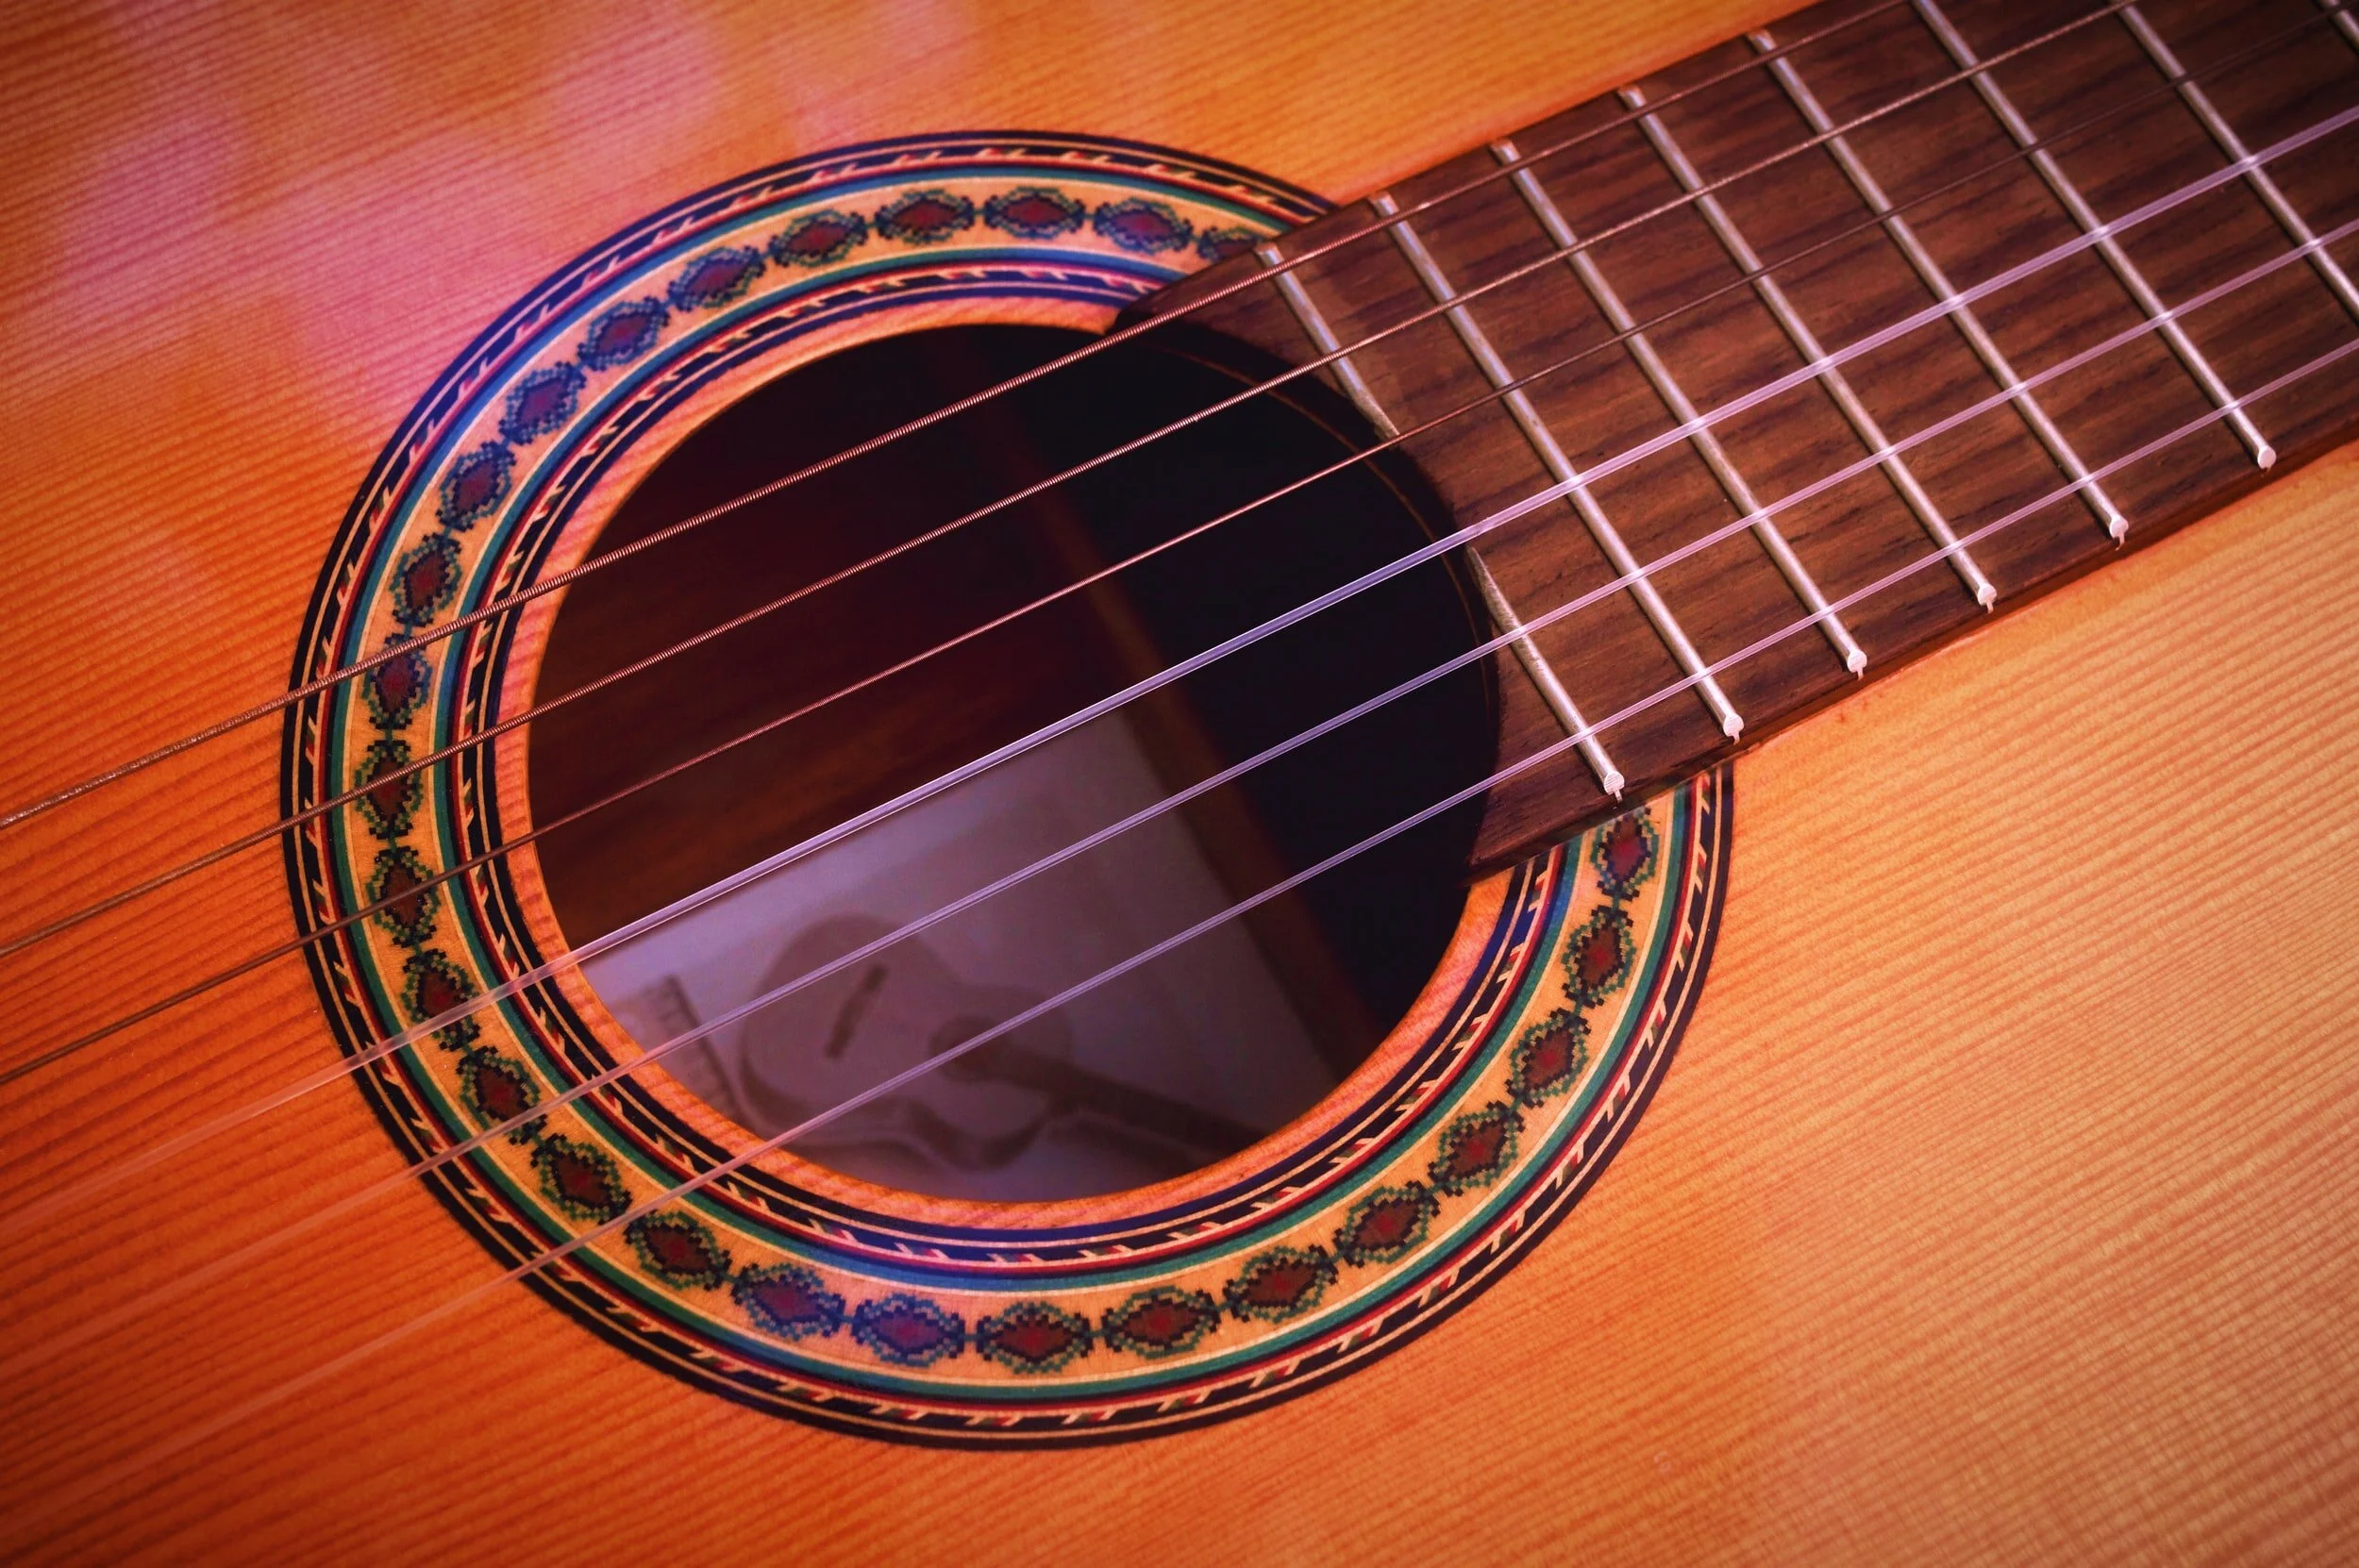
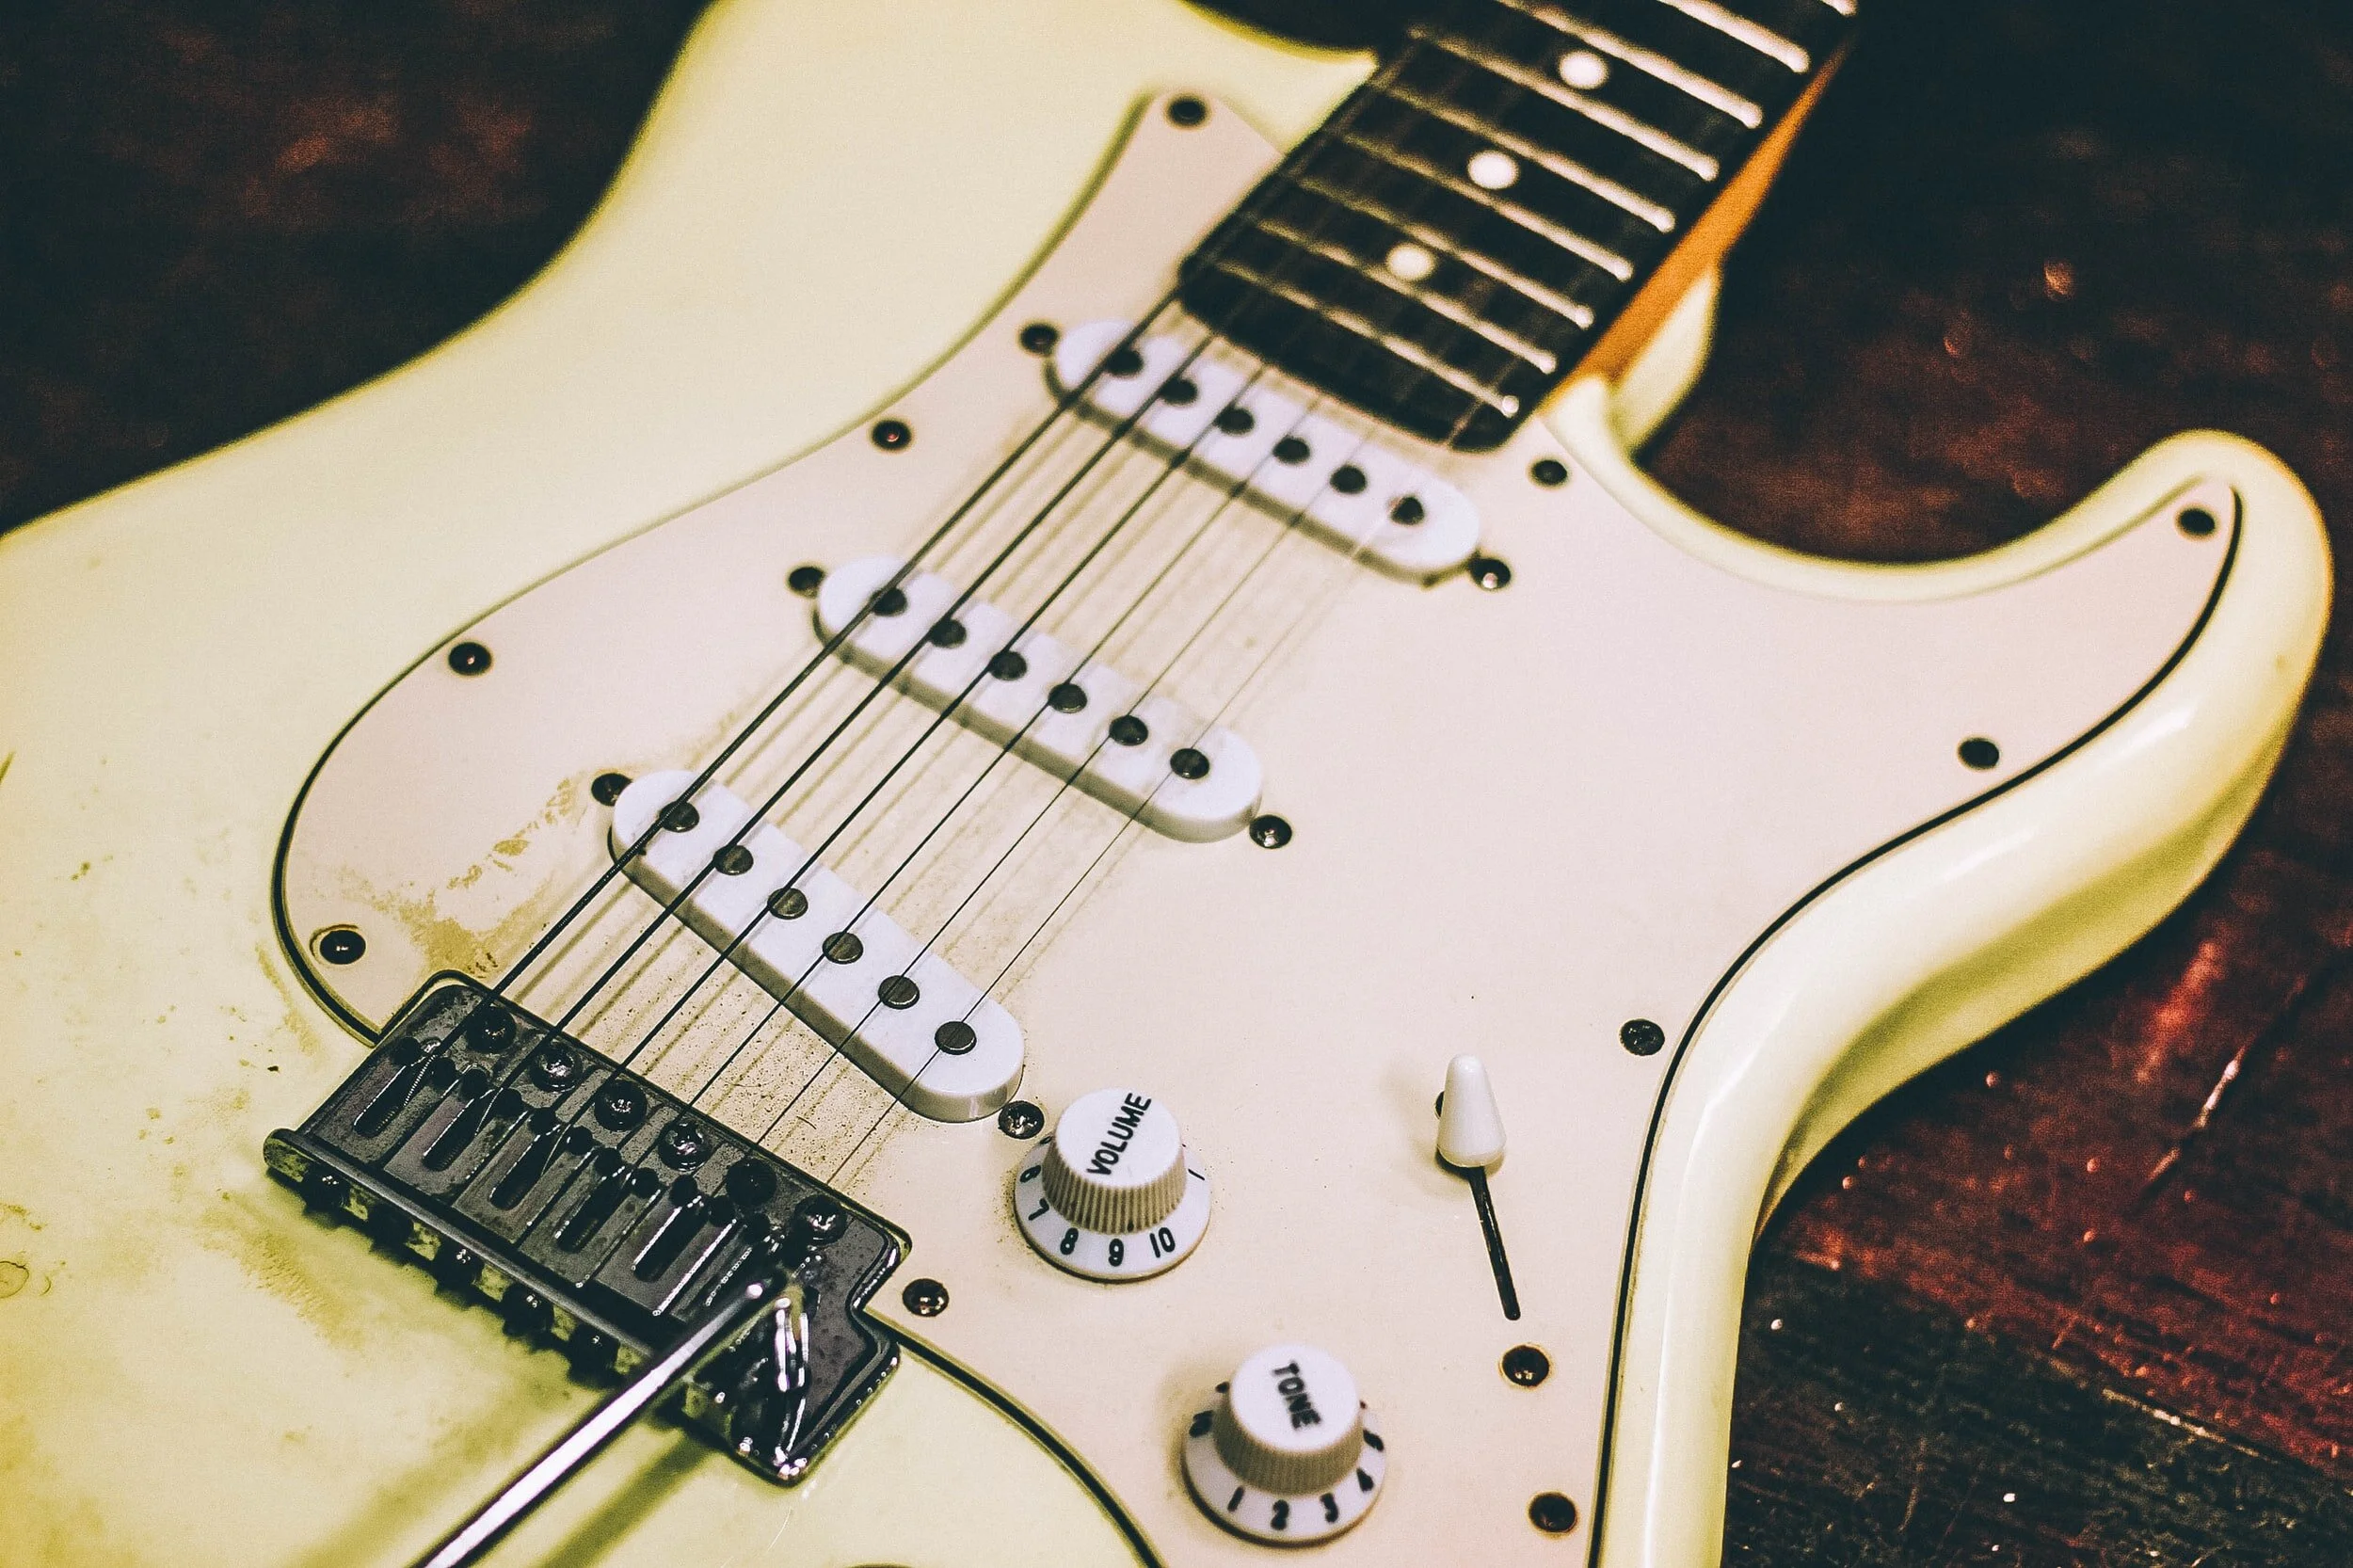
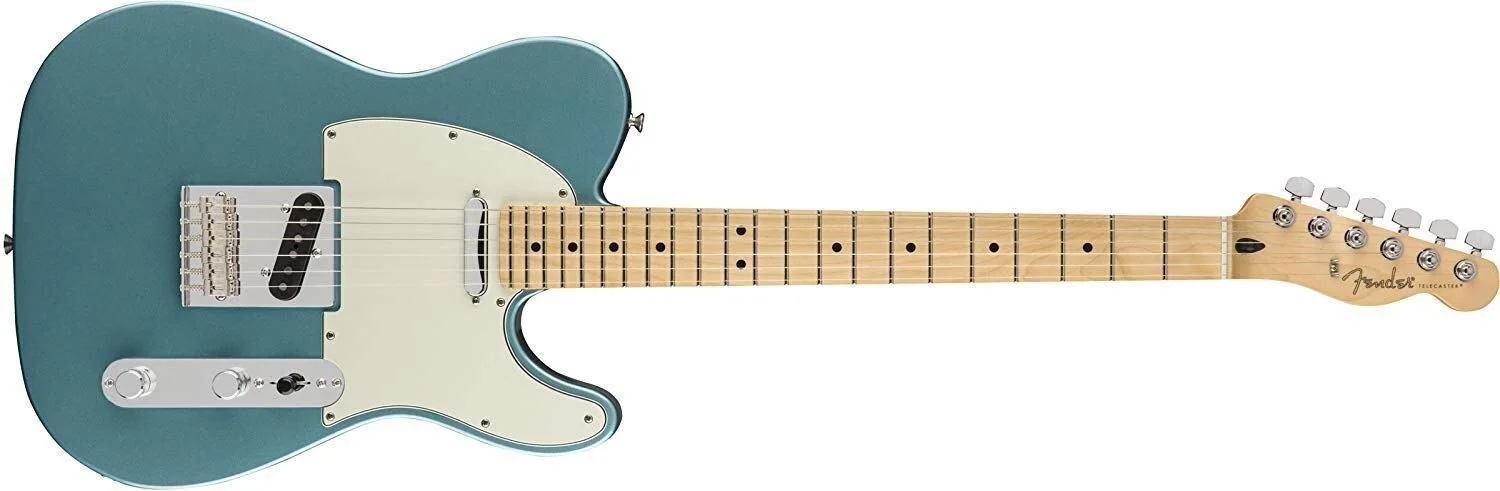
Not all guitars are the same, and so it is extremely important to purchase a guitar that you’ve actually played (or if you are buying a guitar online, make sure the vendor has a return policy that allows you to try out the instrument for a few days first). 

Make sure you love your instrument before spending money on it, and buy the best instrument you can afford, as no one likes playing a guitar that is hard to play. Saving money on a bad instrument will cost you in the long run in frustration in trying to play it, and investing in a quality instrument will last you a lifetime of enjoyable playing when properly cared for. You can always add new guitars and amplifiers over time to your collection!


Guitar Picks

For a majority of the lessons on this website, we will primarily focus on pick-style playing, which will use a guitar pick rather than our fingers in our right hand as the primary way of plucking the strings on the guitar. Guitar picks come in many shapes and sizes, and thicknesses.

Typically, picks fall into three categories: light, medium, and heavy. Lighter picks are best for strumming, but have less control when playing single strings, while heavier picks have more control for single-note playing but more difficult for strumming. Many guitar players use multiple types of picks throughout a performance, depending on the style of music and the type of guitar.  

Guitar Pick

Guitar Cables

For electric guitar players, guitar cables are necessary for connecting the guitar’s output jack to the input jack of the amplifier, a standard guitar cable looks like a large headphone cable, and is often referred to as a 1/4 inch (or “quarter-inch”) cable. Guitar cables come in various lengths and colors.  

Guitar Cable

Guitar Strap

In order to stand up while playing the guitar, it is necessary to have a guitar strap. The ends of the strap connect to the strap buttons on the back and front of the body of your guitar. All electric guitars will have two strap buttons, but it is common for acoustic guitars to have only one on the back of the guitar. In this case, you can tie the string attached to the strap around the headstock and under the nut to secure the guitar while standing. When using a guitar strap, please your head and picking arm through the strap. 

Guitar Strap

Metronome

A metronome is a device that helps us practice by producing an audible “click” at an interval of time measured in beats per minute (bpm) this provides the tempo, or pulse of the music and helps to keep us in time with the music we are trying to perform. Metronomes are available as stand-alone devices or as downloadable apps on smartphones and tablets. 

Metronome

Capo

Although not necessary to play the guitar, a capo is an extremely useful tool that we will use frequently as we learn to play the guitar. A capo is placed on one of the frets of the guitar and temporarily changes the tuning of the open strings. This is used to transpose the open chords on the guitar into different keys and retain the sound of the open strings on the guitar. 

Guitar Capo

Guitar Capo


how to hold the guitar

The guitar can be played sitting down with the guitar over the right thigh, which we refer to as the contemporary playing position. We can also rest the guitar over the left thigh, using a footstool to elevate the leg and support the instrument known as the traditional playing position. We can also play the guitar standing up using a guitar strap that attaches to the instrument. 

Standing Position With Guitar Strap

Classical Playing Position With Footstool.

Traditional Seated Playing Position

It is important to play with good posture as to not develop long term back and shoulder problems while playing the guitar. The ideal playing position follows the 90 degree Rule which is an easy way to remember the correct posture. All of your joints in your lower body (ankles, knees, and hips) should be at 90o angles when seated. 

When sitting down, the guitar should rest between your thigh and underarm with your elbow wrapped around the top of the guitar as seen in the picture below. When using a guitar strap, place both your head and picking hand through the strap, and adjust the strap so the guitar is at a comfortable height. 


Numbering the Strings 

The strings on the guitar are numbered from the thickest and lowest pitch string (6th), which is closest to you, to the thinnest and highest pitch string (1st), which is furthest away.

The notes of the strings from lowest (6th) to highest (1st) are:

E(6) A(5) D(4) G(3) B(2) E(1).


NUMBERING THE FRETS

The Frets, or pieces of metal running across the guitar neck separate notes on the guitar from each other. When we press down on the guitar, we press on the wood between the two frets to play each note. Each fret is numbered from the 1st fret closest to the headstock (the largest fret), and run up to between 19 and 24 frets (the smallest fret) depending on the design of your instrument.

The markers on the fingerboard are to help you locate the correct fret when playing. These markings can vary from one guitar to another but are always found on the 5th, 7th, 9th, and 12th frets as well as on the side of the neck facing the player in order to make these frets easier to locate.

Guitar Fingerboard with Numbered Frets.


LEFT AND RIGHT-HAND FINGERING

When we write music for the guitar, we use numbers to notate the correct finger on the left hand, and when playing using right-hand fingerstyle techniques, letters are used to notate which finger to play the note with.

As we do not use the thumb to play the guitar in our left hand, your index finger is your 1st finger, your middle finger is your 2nd finger, your ring finger is your 3rd finger and your pinky is your 4th finger.

For the right hand, the letter “P” indicates the Thumb, “i” indicates the Index finger, “m” indicates the Middle finger, “a” indicates the Ring finger, and although rarely used, “c” indicates the Pinky finger.

Left and Right Hand Fingering


Tuning the Guitar

Keeping your guitar in tune is extremely important. Without tuning the guitar, your guitar won’t sound very good and will be extremely frustrating to play! The good news is that keeping your guitar in tune is pretty easy!

First, watch this video on how the tuners on the guitar work.

The next step is to know what notes each string should be tuned to in standard guitar tuning.

Standard tuning on the guitar is from lowest string to highest string:

E(6) A(5) D(4) G(3) B(2) E(1) 

Watch the example below on how to tune your guitar, and the correct notes for each string.

In order to tune the guitar, the easiest method would be to use an electronic tuner. There are several tuning apps that you can download on your smartphone or tablet that use the built-in microphone to tune the guitar. There are also tuners that clip on to the headstock of the guitar that can tune any guitar (electric or acoustic) through the vibrations of the strings. Whichever method you use to tune your guitar, you want to make sure that you are tuning to standard tuning. Although there are many alternate tunings that can be used with the guitar, we will be focusing on standard tuning throughout this book.  

Using Electronic Tuners to Tune Your Guitar

Clip-On Headstock Tuners 

With clip-on tuners, as in the one pictured below, the tuner is placed on top of the headstock and the display registers the note and whether it needs to be tuned higher or lower to match the pitch. If the display moves to the left of the center green line, the string is too low and needs to be tuned up. If the display moves past the center line to the right, the string is tuned too high and needs to be lowered. Once the center light turns green, the note is in tune.  

Clip-On Headstock Tuner

Stand-Alone Tuner

Stand-Alone Tuners 

For electric guitars and acoustic guitars with built-in electronics, pedal tuners are very popular and work similarly to clip-on tuners. When you plug your guitar cable into the tuner’s input, it registers the sound of the pickups and displays the closest note and whether the string is too high or too low. Once the tuner reaches the middle green line, the string is now in tune. Stand-alone tuners also have a microphone to tune acoustic guitars that do not have electronics.

Tuning the Guitar Without using a Tuner 

You can tune each string without a tuner by pressing the 5th fret of the 6th string and checking to see if it matches the open 5th string. This works for all of the strings except for the 2nd string, which is tuned using the 4th fret of the 3rd string. You will need to adjust the tuning up or down as needed to match the fretted note on the lower string.

Use the examples above to learn how to tune your guitar without a tuner

Although this method assumes your lowest string is in tune, it will keep your guitar in tune with itself, and allow for practicing until you can tune your guitar to an electronic tuner.


RIGHT-HAND POSITIONING

Watch the video below to help you concentrate on your picking hand in order to achieve the proper Right-hand playing position. The goal of this lesson is to develop the correct positioning of the right arm, the correct angle of the wrist, and how the right-hand interacts with the guitar to achieve the ideal playing position.


LEFT-HAND POSITIONING

These exercises are to help you concentrate on your picking hand in order to achieve the proper Left-hand playing position, including the correct positioning of the right arm, the correct angle of the wrist, and how the right-hand interacts with the guitar to achieve the ideal playing position.


Holding the Pick

Right Hand Picking Position

The pick should be held between the thumb and the index finger of your right hand. Put your hand in a “thumbs up” position and rest the pick as shown on your index finger. The pointed end should be facing away from your fist. Place the thumb so your fingertip is in the middle of the pick and only the end of the pick sticks out. Rest the pick on top of your index finger. Press down with your thumb. Make sure that your hand is relaxed, as too much tension in your hand can slow down your picking. 


Reading Tablature

Tablature is a system of shorthand music notation for the guitar that uses numbers to indicate where notes are found on the guitar. Tablature notation was first seen in the lute music of the 16th and 17th centuries and is still commonly used today.  

A Tablature staff has six lines. Each line on the tablature staff represents one of the six strings on the guitar. The lowest line on the bottom of the tablature staff represents the lowest pitched string on the guitar (6th string) while the top line represents the highest pitched string on the guitar (1st string)

The lowest line on the bottom of the staff represents the 6th string (Low E) on the guitar, moving towards the top of the page with the 5th string (A), 4th string (D), 3rd string (G), 2nd string (B), and the 1st string (E) on the highest line of the staff.

We place numbers on the lines of the tablature staff to indicate the fret number that is played. Tablature does not tell us what note is meant to be played, but only indicates the fret and string location for each note played on the guitar.

Each number on the tablature staff indicates the fret number.

The Number “0” on a tablature line represents an open string on the guitar.  

A “0” represents an open string.


SINGLE-STRING PICKING TECHNIQUE

In this lesson, watch the video to learn the basics of your right-hand picking technique using both downstrokes (towards the ground) and upstrokes (towards the sky) to create Alternate picking to maximize speed and efficient playing technique. Although there are many ways to hold the pick and many approaches to playing with a pick, this will be the most efficient way to get started and will help you learn good habits to get the best sound out of your instrument.


RIGHT-HAND OPEN STRING EXERCISES

This lesson is designed to help you concentrate on your picking hand by playing the open strings. One of the most challenging parts of learning the guitar is to learn where the open strings are located and become comfortable locating the strings with the right hand. As always, it is extremely important to use a metronome at a slow tempo so you have control over your hand at all times. Try not to look at your hand as you play these exercises, as you will not be able to look at both of your hands and the music at the same time. Here are the open strings of the guitar written in tablature. 

Play each of the open strings with your pick. Try to get used to finding the strings without looking at your right hand.  Each of these exercises will be played using downstrokes. This means that we will play each string with the pick in a downward motion towards the ground.  

ds.png

Downstrokes are indicated in tablature by this symbol:

Practice the following exercises with open strings. Try not to look at your right hand as you play the open strings, allowing your hand and between each string. Count along as you play each note, the beats are indicated by the numbers “1,2,3,4” and are written about the tablature staff. 

Open String Exercise #1


OPEN STRINGS AND FRETTED NOTES

The following exercises will incorporate both open strings and fretted notes. Practice each of these exercises slowly and practice connecting your left and right hand together. 

Remember to use the same finger as the fret number. 

  • Notes on the 1st fret will be played with the 1st (index) finger

  • Notes on the 2nd fret will be played with the 2nd (middle) finger

  • Notes on the 3rd fret will be played with the 3rd (ring) finger

  • Notes on the 4th fret will be played with the 4th (pinky) finger

Practice the Exercises Below. Use the video lessons as reference for any mistakes you make

Tablature Left Hand Exercise #1

Tablature Left Hand Exercise #2

Tablature Left Hand Exercise #3